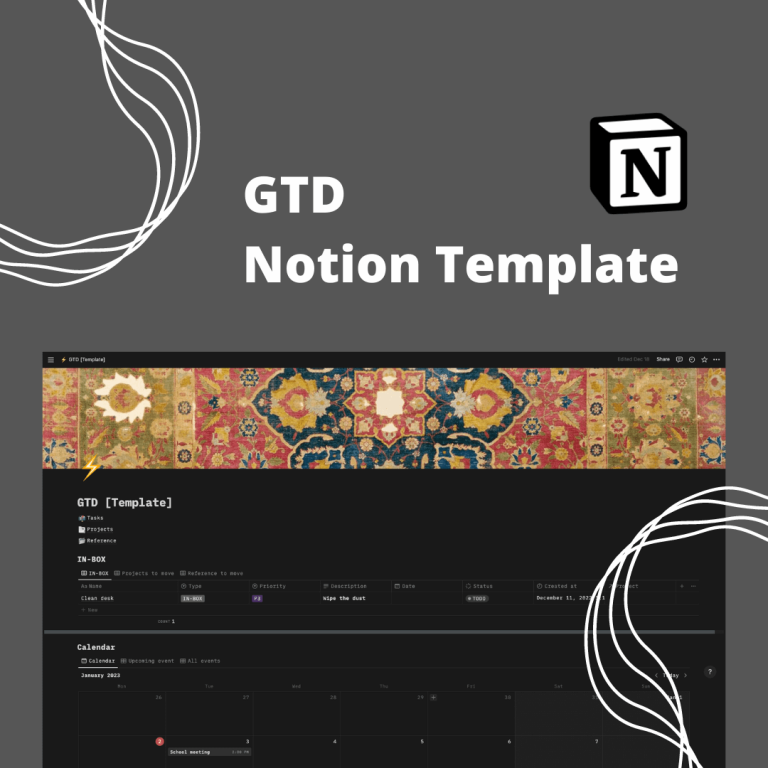
Hi, if you came across this article you probably want to implement the personal productivity methodology that is Getting Things Done. In this post, I’ll show you how you can launch your work management system, with a GTD Notion Template prepared specifically for you.
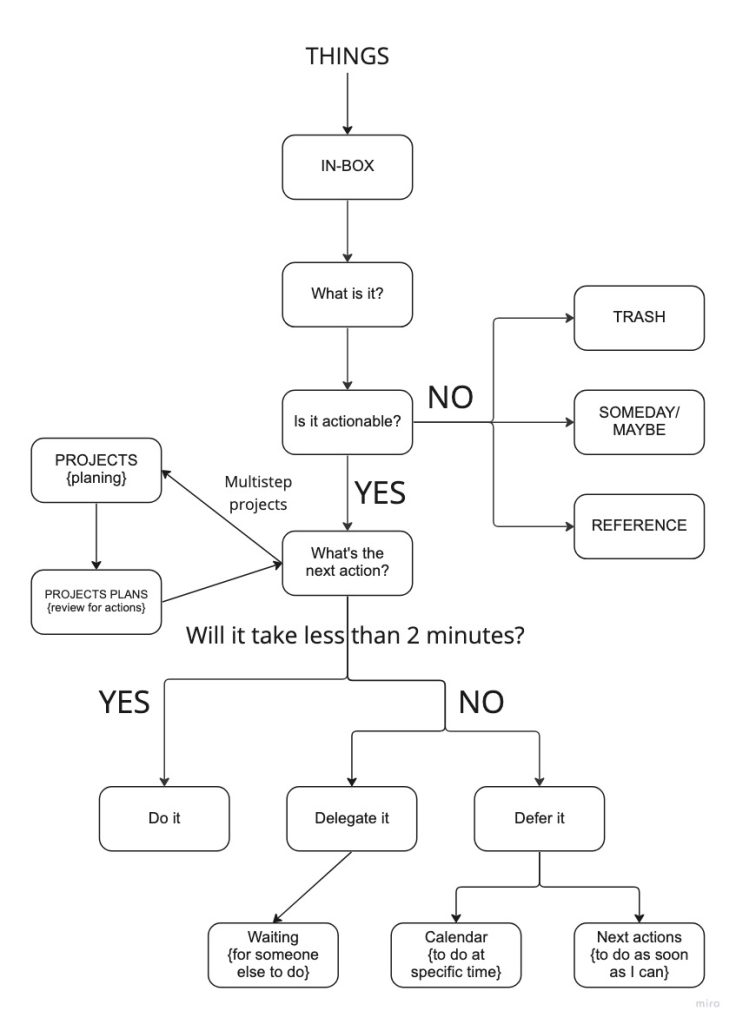
Introduction to GTD Notion Template (Getting Things Done)
I have prepared for you an implementation of the GTD system on Notion, which make you feel free from the stress of your tasks. The template contains three databases: Tasks, Projects and References. They will allow you to properly divide what you need to do and what you need to remember.
In the next parts of this article, I will show you how to add new tasks and assign them to appropriate categories. To make your workflow the most productive. You will never forget an important thing to do.
Once you learn how to use the template, at the end of the article you will find instructions on how to download the template so that it will be on your Notion.

IN-BOX and adding stuff
In-box is the place where you will add to-dos before categorizing them. This is the entry point for your workflow, and only after analyzing the tasks located here you will distribute them to the appropriate categories. In this part we will only deal with IN-BOX view, Projects to move and Reference to move views will be described in the next chapters.

The task has fields:
- Name – task name
- Type – type of task (more below)
- Priority – piority from P1 (lowest) to P5 (higest)
- Description – description
- Date – if have the specific day
- Status – task status, TODO, In progress, Done
- Created at – date of creation
- Project – if belongs to a project
Of course, you can add your own fields as you wish. Remember that each entry in Notion databse is a separate page to which you can add whatever you want, which is necessary to complete the task.
Type of tasks:
- IN-BOX – not categorized
- TASK – simple task
- CALENDAR – meeting or event
- MAYBE – tasks you don’t have to do
- PROJECT – project
- REFERENCE – you don’t have to do it, just for later reference
In the in-box section, you will see only tasks with IN-BOX status. When you change the status the task will be moved to the corresponding status list.
Calendar
Calendar is a place where there will be tasks that have a specific time of completion. Such as meetings, events, or training. This section consists of 3 views.
The first is the calendar view on which your events will be placed.
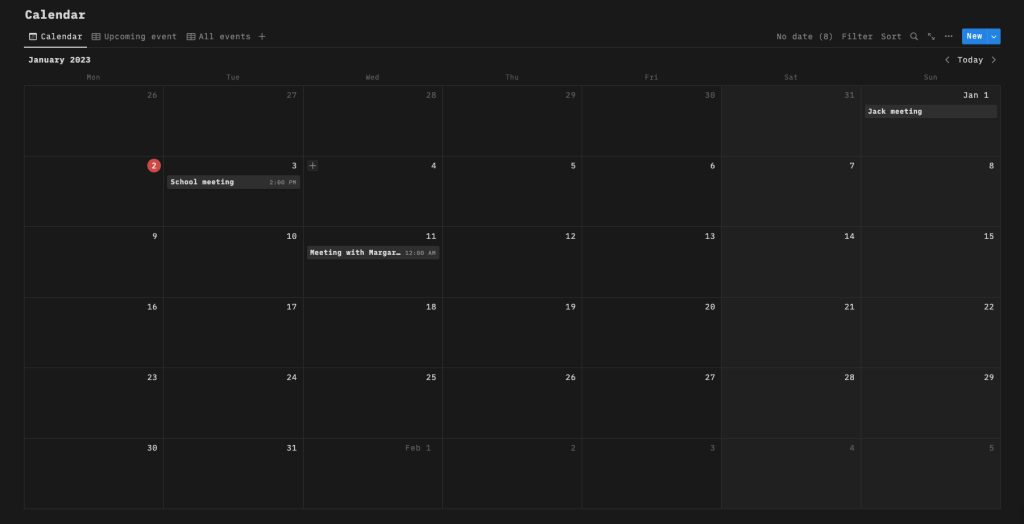
The second is events that have not yet taken place in table form.

The third is all the events that have ever been added.

How to add new event.
To add a new event, change the task type from IN-BOX section to CALENDAR.
Or create a new task in the Calendar section with a template in which the type is set.
Tasks
This is the main section with tasks that will be waiting to be done. Here you will find individual tasks that you need to do and those that belong to the project. Let me remind you again that each row in Notion databases is a separate page, which you can fill with useful information that will help you complete the task. Tasks are sorted by status (so that tasks in progress are at the top).

You will also find here an additional view with the tasks you have completed. It can be useful if you want to remember something or just appreciate how much you’ve already done!

How to add new task.
To add a new event, change the task type from the IN-BOX section to TASK.
Or create a new task in the Tasks section with a template in which the type is set.
How to link task to project
Sometimes you will need to link task to the proper project, just click in project property and choose correct one from the list.
Someday/Maybe
In this section you will write down tasks that do not necessarily need to be done, or concern the further future. With such a section, your task list will include only things that need actual action. To add a task to this section give it a MAYBE type.

Here should be things you would like to do but don’t have to. Surely you have many things you would like to do as if you had free time this would be the perfect place for them.
Here you can also add things that will be waiting for you in the further future, in a few months. Only when the deadline for making a decision related to this event, task is approaching, will you drag it to the tasks section. It’s a good idea to review this section periodically to keep track of whether the time to take action is approaching.
A large number of tasks in this section will be a sign that you need to expand this section. You can expand it into a system of 43 folders as advised in Getting things done. But in the beginning it may be unnecessary for you because I don’t put it in the basic template.
Projects
Projects are things that require more than one task to achieve a goal. A separate database has been created for projects so that relationships can be created. Projects will have tasks assigned to them. Projects have a section on the home page, and you can see them on a separate page linked at the top.
The view of the project page has been enriched with a view of the base with related tasks. You will never lose track of the project’s progress. More about this is in the section “How to add tasks to the project.”

How to add a new project.
To add a new project, change the task type from the IN-BOX section to PROJECT. Then drag the task into the Project database.
Now you have a task added to the Project database.
How to add tasks to the project.
We can add tasks to a project in two ways, by assigning a task to a specific project (it was shown in Tasks section).
We can also create a task directly from the project page, by additional project template. It will allow you to even better track the progress of tasks associated with the project.
Reference
This is the section where you will keep materials that you may find useful in the future. These will be all texts, instructions or tutorials that you want to keep for later use. A separate database is created for this type of document.
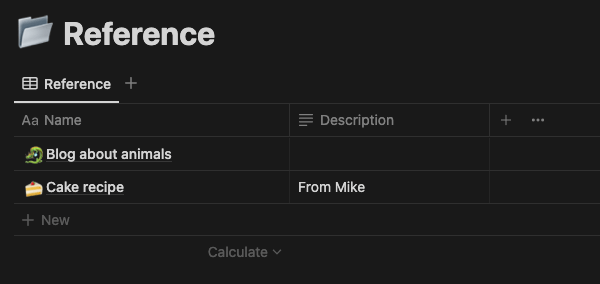
Here you can keep documents as single database entries and group them. Grouping will come in handy if you have many documents related to one project. This will allow you to better organize your storage.
How to add new references.
To add a new event, change the task type from IN-BOX to REFERENCE. Then drag the task into the Reference database.
Now you have added material to the Reference database.
How to group documents
To group documents create a new entry in the database with the template “Reference with children”. A new entry with a database of grouped files will be created. To add a document to a group, drag the entry you want to add onto the grouping entry as shown below.
Now you can create a group that interests you and see all the materials belonging to it.
How to download
There is nothing easier! To download GTD Notion template follow this steps:
- Open Notion and sign in
- Open the template page, you can find it at this link.
- Click “Duplicate” in the top right corner of the page.
- Log in, if you’re not already.
- A new page will be created with the same content as the original template.
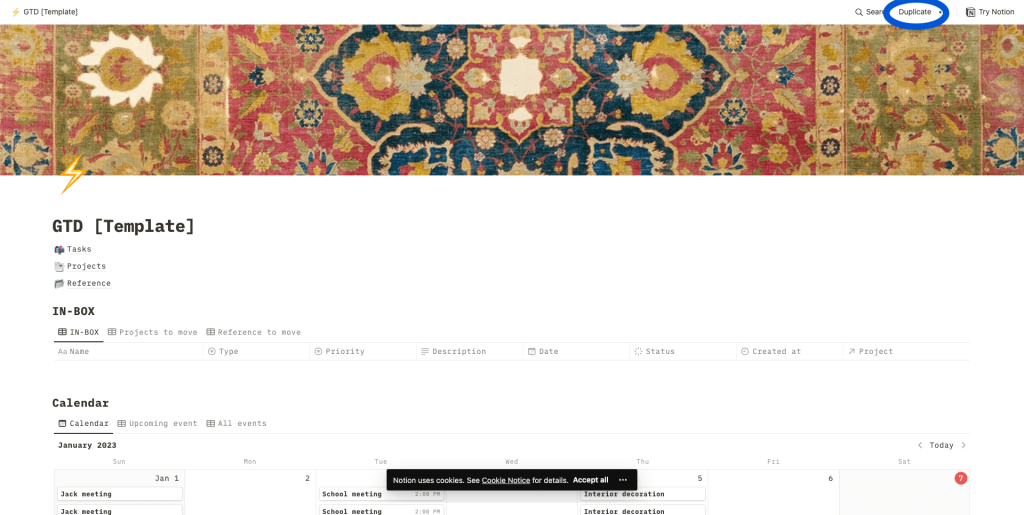
Not you can remove example tasks, and add your own. Not you’re ready to get the job done!
Getting things done!
Get to work! Design your workflow so you don’t have to worry about anything and be as efficient as possible! If you have suggestions on how to improve this GTD Notion Template or have questions, text me at scoutups.blog@gmail.com. Good luck!
Check out our other post in the blog section!

